Gardening 101:

How I Fertilize My Old Soil Beds
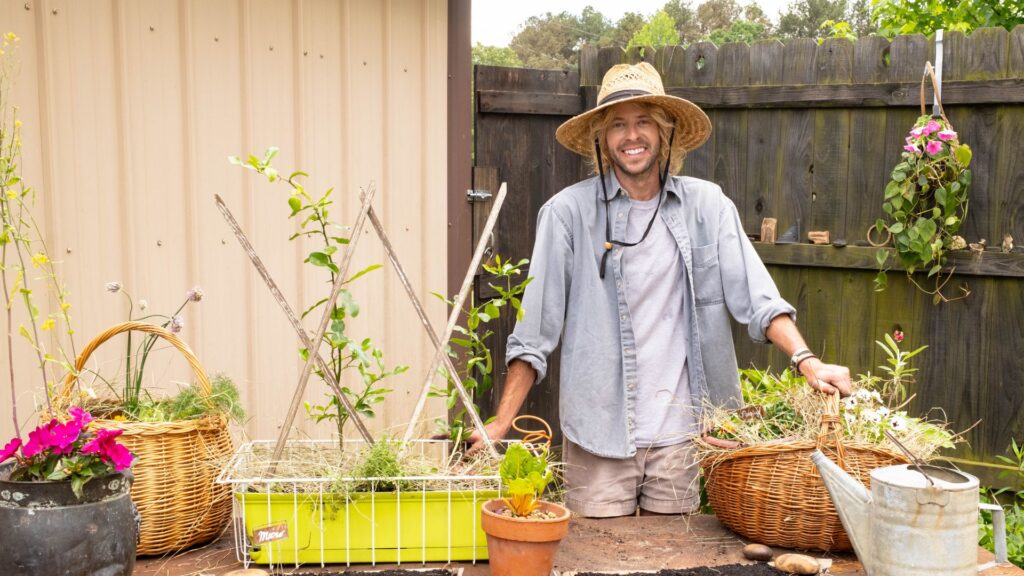
By Trace Barnett

How Do You Amend Your Soil?

Prepare your garden soil for vibrant spring and summer planting with a nourishing blend of compost, worm castings, and bonemeal. Start by incorporating well-decomposed compost, a nutrient-rich organic matter that enhances soil structure and fertility. Worm castings, with their concentrated nutrients, boost plant growth and improve soil aeration. For an extra dose of phosphorus, essential for robust root development and flowering, incorporate bonemeal into the mix.

This trifecta of organic amendments not only provides essential nutrients but also fosters a healthy microbial environment in the soil.

Mix these ingredients thoroughly into the top layer of your garden soil and distribute evenly. Your plants will thank you with vigorous growth and bountiful harvests throughout the seasons. Happy planting!

1. Loosen the Soil
Use a pitchfork or garden fork to loosen the top 6-12 inches of soil. This helps improve aeration, drainage, and allows plant roots to penetrate more easily.
2. Remove Debris:
Clear the area of any weeds, rocks, or debris. This ensures a clean and fertile space for your plants to thrive.
3. Add Compost:
Spread a layer of well-decomposed compost evenly over the loosened soil. Compost adds organic matter, improves soil structure, and provides a wide range of essential nutrients for plant growth.
4. Incorporate Worm Castings:
Mix in worm castings, which are rich in beneficial microorganisms and nutrients. These castings contribute to soil fertility, enhance water retention, and promote overall soil health.
5. Integrate Bonemeal:
Sprinkle bonemeal evenly across the soil. Bonemeal is a fantastic source of phosphorus, crucial for strong root development and flowering. Mix it thoroughly into the soil to ensure even distribution.
6. Blend Thoroughly:
Using the pitchfork, shovel, or a garden tiller, blend the compost, worm castings, and bonemeal thoroughly into the loosened soil. Aim for a consistent mix to provide an optimal environment for plant roots.
7. Water the Soil:
After amending the soil, water it well to help the amendments settle and activate microbial activity. Adequate moisture is essential for the breakdown of organic matter and nutrient absorption by plants.
8. Wait and Plant:
Allow the soil to settle for a few days before planting. This gives the amendments time to integrate with the existing soil and ensures a stable environment for your plants.

What is Compost?

Composting is a sustainable and eco-friendly way to recycle organic waste into nutrient-rich fertilizer for your garden. To start composting at home, follow these steps:
1. Choose a Location
Select a suitable location for your compost bin or pile. It can be in your backyard, on a balcony, or even in a designated indoor bin for smaller spaces.
2. Get a Compost Bin
Invest in a compost bin or create a designated compost pile. Bins help contain the composting process and prevent pests. Ensure good aeration with holes or aeration vents.
3. Add Brown and Green Materials
Composting requires a balance of “browns” (carbon-rich materials like dried leaves, straw, or shredded newspaper) and “greens” (nitrogen-rich materials such as kitchen scraps, fruit peels, and green yard waste). Aim for a roughly 3:1 ratio of browns to greens.
4. Turn and Mix
Regularly turn the compost with a pitchfork or compost turner to enhance aeration and speed up the decomposition process. Mixing helps create a more uniform compost.
5. Maintain Moisture
Keep the compost pile consistently moist, akin to a wrung-out sponge. Watering during dry spells helps microbes break down materials efficiently.
6. Monitor Temperature
Composting generates heat as organic matter decomposes. Aim for a temperature range of 120-150°F (49-66°C) to facilitate the breakdown of materials.
7. Be Mindful of What to Include
Include items like vegetable and fruit scraps, coffee grounds, eggshells, and yard waste. Avoid meat, dairy, and oily foods, as they can attract pests.
8. Patience is Key
Composting takes time, usually several weeks to months. Be patient and allow the materials to transform into a dark, crumbly, and earthy-smelling compost.
9. Harvest the Compost
Once the compost is dark and rich in texture, it’s ready for use. Harvest it from the bottom of the pile or bin, leaving the unfinished material on top to continue decomposing.


By composting, you’ll not only reduce your kitchen and yard waste but also create a nutrient-dense compost that enhances soil fertility and promotes a healthier garden. Happy composting!

What Are Worm Casting?

Worm castings, often referred to as “black gold” in gardening circles, are the nutrient-rich excrement produced by earthworms as they digest organic matter. These castings are a potent and natural fertilizer that significantly benefits garden soil. Comprising a blend of digested organic material and secretions from earthworms, worm castings are teeming with beneficial microorganisms, enzymes, and essential nutrients. They create a harmonious environment in the soil, fostering optimal conditions for plant growth.
What makes worm castings particularly valuable is their well-balanced nutrient profile. They are rich in nitrogen, phosphorus, potassium, and other trace elements essential for plant health. Additionally, the structure of worm castings helps improve soil texture, enhancing water retention and drainage. Their microbial content contributes to the formation of a robust soil ecosystem, suppressing harmful pathogens while promoting beneficial bacteria and fungi. As a result, incorporating worm castings into garden soil not only provides direct nourishment to plants but also supports a healthy and sustainable soil environment, leading to vibrant and thriving gardens.

Bone Meal vs. Blood Meal

Bone meal and blood meal are two distinct organic fertilizers derived from animal sources, each offering unique benefits to gardeners. Bonemeal is made from ground-up animal bones and is an excellent source of phosphorus, crucial for root development, flower and fruit production. It also provides a slow-release form of nitrogen and calcium, benefiting overall plant health. On the other hand, blood meal is derived from dried and powdered animal blood, offering a quick-release source of nitrogen, essential for promoting lush foliage and vegetative growth. While both fertilizers contribute to soil fertility, the key difference lies in their primary nutrient content and release rates. Gardeners often choose between bonemeal and blood meal based on their specific plant needs and the stage of growth they aim to enhance in their gardens.
When using blood meal in your garden, it’s crucial to apply it sparingly due to its potent nitrogen content. Excessive use can lead to nitrogen burn, causing harm to plants. Begin by carefully following the product’s recommended application rates, as excessive nitrogen can negatively impact soil and plant health. A little goes a long way with blood meal, so start with a modest amount and observe your plants’ response. It’s advisable to incorporate it into the soil during the early stages of plant growth or as a side dressing around established plants. Additionally, water the area thoroughly after applying blood meal to help prevent the concentration of nitrogen in one spot. Regular monitoring of plant development and adjusting the application accordingly will help you harness the benefits of blood meal while avoiding potential adverse effects on your garden.

Get Planting

Once you’ve meticulously amended your garden bed soil with a nutrient-rich blend of compost, worm castings, and bonemeal, it’s time to embark on the exciting journey of planting. Ensure the soil has reached the appropriate temperature for the specific plants you intend to grow, as different varieties thrive in different conditions. With the enriched soil providing a fertile foundation, carefully plan the layout of your garden bed, considering factors like sunlight, spacing, and companion planting. Gently plant your chosen seeds or seedlings, following recommended depths and spacing guidelines. Water the newly planted area adequately, allowing the amendments to settle and establish a conducive environment for plant roots. Regularly monitor your garden, adjusting care practices as needed, and soon, you’ll witness the fruits of your labor as your thriving plants take root and flourish in the nutrient-dense soil you’ve provided.

You Might Also Like

How to Can Vegetables for Beginners

Canning these homegrown tomatoes is a healthy and cost-efficient way to enjoy the flavors of summer all year long. From sauces to soups, you can use preserved tomatoes in a wide range of recipes.

How to Freeze & Store Vegetables

Trace shows you the quickest way to retain the texture, color, and nutritional value of your vegetables.

Hummingbirds

We delve into hummingbird migration patterns, feeding preferences, nesting behaviors, and essential considerations for attracting and supporting these tiny marvels in your backyard.

How to Grow and Care for Tomato Plants | Gardening 101

Follow this step-by-step guide for choosing, planting, and caring for your delicious, homegrown tomato plants. With proper attention to plant health, support, and environmental conditions, you can savor the fruits of your labor all season long.

Edible Container Gardens | Gardening 101

Limited space? Container gardening is for you. Learn how to start a vegetable garden and what to plant.

Propagating Houseplants and Dividing Perennials | Gardening 101

Spring is the perfect time to rejuvenate your garden by propagating houseplants and dividing summer and fall blooming perennials.